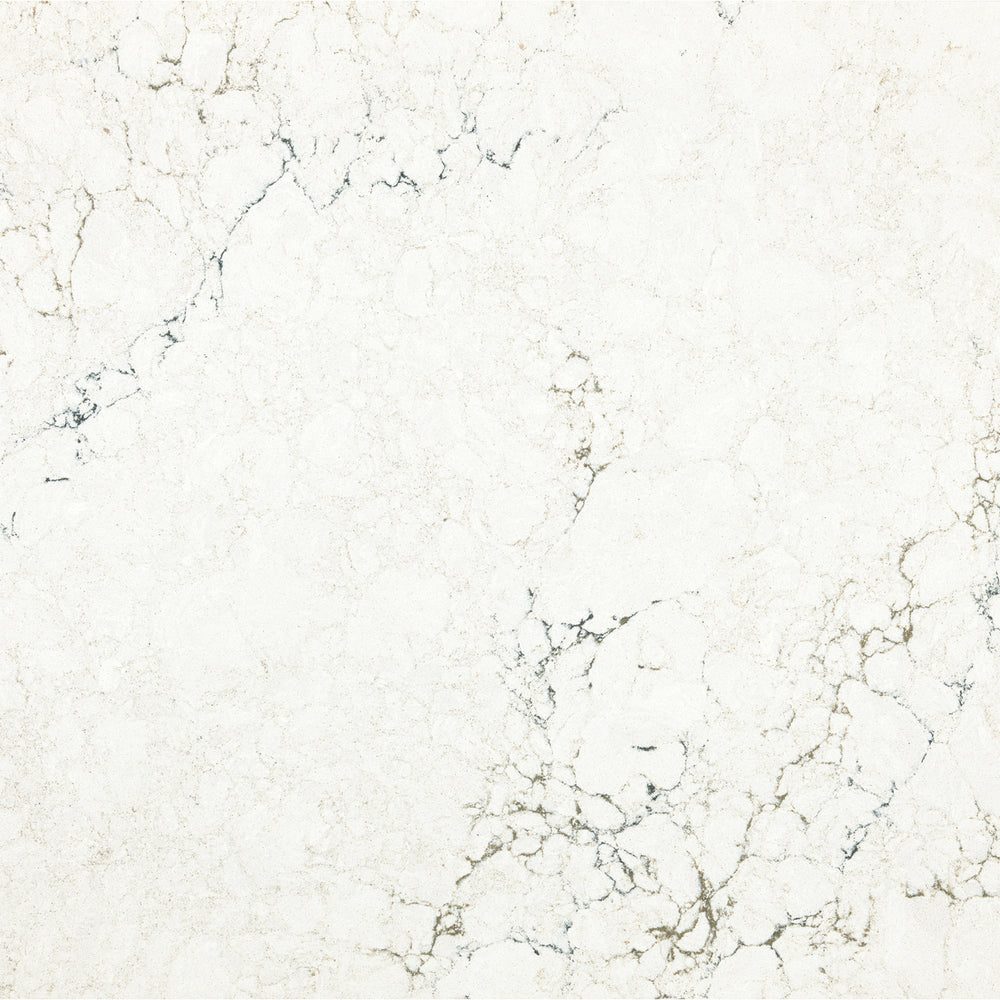
Easy Bath tops arrive with the sink already mounted and the faucet holes drilled, so installation is mostly careful lifting and good caulk work. Most homeowners finish in an afternoon. Prefer to skip it? Choose Professional Installation at checkout and the Select Surfaces install team will handle everything.
Tools and materials
- A helper. A 36" quartz top with a sink weighs around 70–90 lb.
- A level, tape measure and utility knife
- 100% silicone (clear or color-matched) and a caulk gun
- Painter's tape, denatured alcohol and clean rags
- Your faucet, drain assembly and supply lines
1. Prep the cabinet
Turn off the water, disconnect the old faucet and drain, and remove the old top. Cut any caulk with a utility knife first. Check that the cabinet is level front to back and side to side, and shim it if needed. A level cabinet is the most important part of a good install.
2. Dry fit
With your helper, set the top on the cabinet without adhesive. Check the overhangs, check that the sink clears the cabinet, and make sure the backsplash edge sits tight to the wall. Lift the top off again.
3. Install the faucet first
It is much easier to mount the faucet and pop-up drain while the top is lying on padded sawhorses than to reach up under the cabinet. Follow the faucet manufacturer's instructions.
4. Set the top
Run a bead of silicone along the top edges of the cabinet frame, plus dabs on any corner blocks. Lower the top straight down, square it to the wall, and press it gently to seat it. Wipe off any squeeze-out right away with alcohol.
5. Connect plumbing
Reconnect the P-trap and supply lines, turn the water on slowly, and check for leaks with a dry paper towel after 10 minutes and again the next day.
6. Backsplash
Tape both sides of the joint. Run a bead of silicone on the bottom edge of the backsplash, then a few dabs on the back. Press it to the wall and onto the top. Tool the joint smooth and pull the tape while the silicone is still wet.
7. Final seal
Caulk where the top meets the wall. Quartz never needs sealing, so you're done. Let the silicone cure for 24 hours before heavy use.